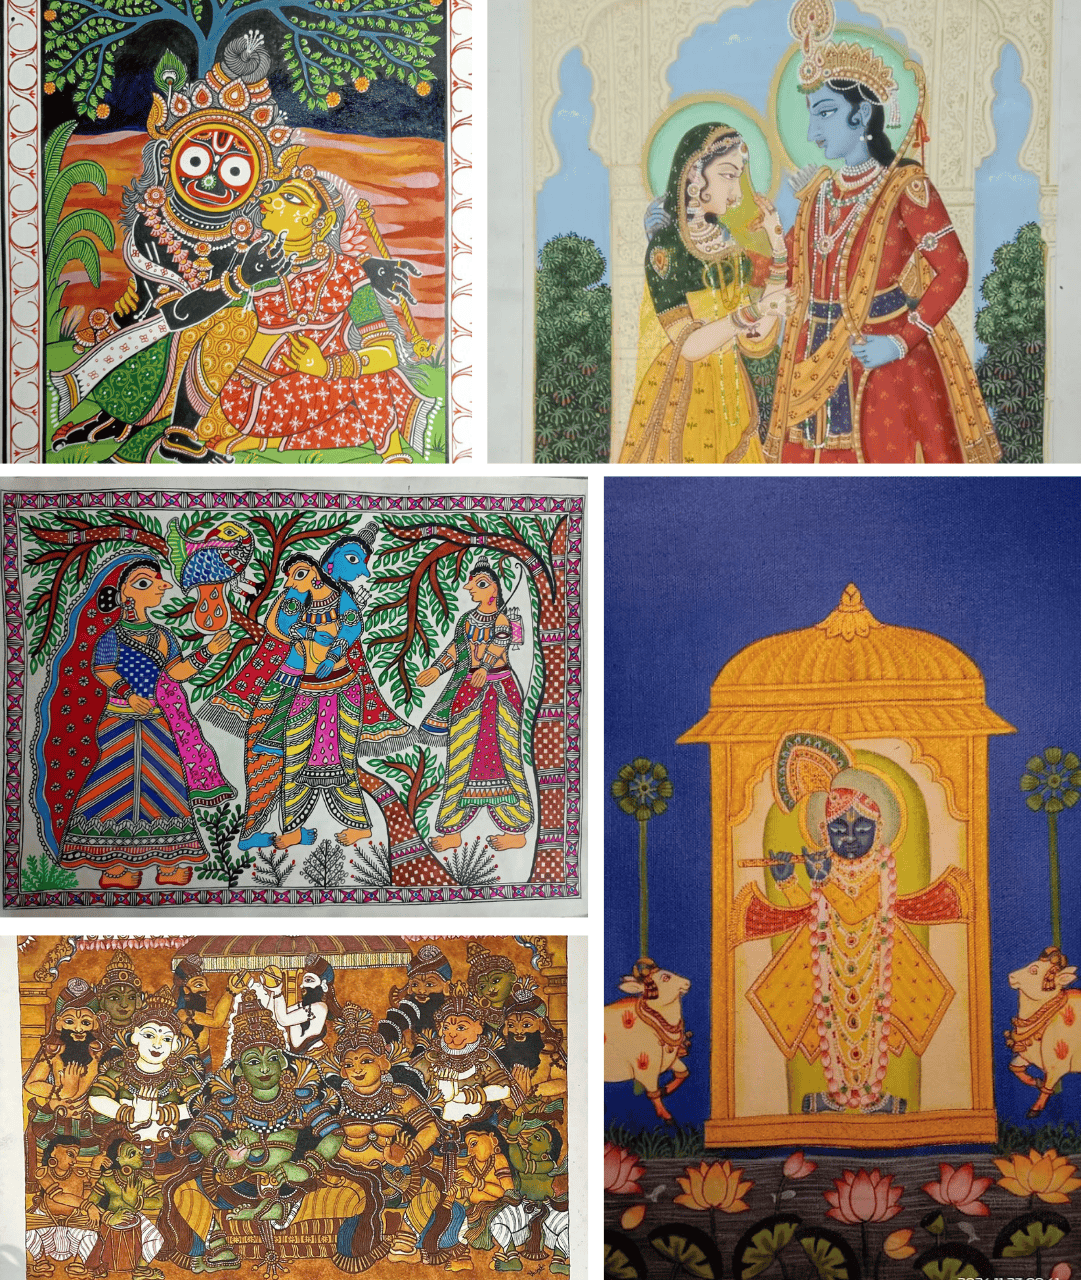
Pattachitra is a 1200-year-old traditional art form from Odisha, India. The word “Pattachitra” comes from Sanskrit, with "patta" meaning cloth and "chitra" meaning picture. As the name suggests, this art form is done on various surfaces like clothes, walls, palm leaves, etc. Unlike many art forms, Pattachitra uses 100% natural colours, and the artists, called “chitrakars”, make these colours using age-old methods. The various steps involved in making a Pattachitra are:-
Step 1: Making of canvas -
Processing of cotton canvas starts with dipping cotton in a solution of crushed imli (Tamrind) seeds and water for 4-5 days. The cloth is then taken out and sun-dried. After the cotton is dry, a paste of chalk powder, imli, and gum is applied on both sides of the layered cloth, and it is sun-dried. After drying, khaddar stone is rubbed on the cloth several times to smoothen the canvas. When the canvas is smoot, the chikana stone is rubbed to shine the cloth.

Step 2: Making of colours -
The materials used in making this painting are vegetable, earth, and mineral sources. For example, Black color is made out of lampblack. Soots collected on the underside of the tin are then mixed with gum and water for use. Yellow from haritali stone and Red from hingal stone, Brown is obtained from the geru stone, and White is obtained when the conch shell is powdered and boiled with kaitha gum, till a paste is formed.

Step 3: Outlines of the figures are drawn with pencil -
The first step after preparing the canvas and colours is the making of a well-defined skeletal sketch on the canvas.
Step 4: Base colouring -
In this process, the artist gives the body colors or base colours to the motifs and the background. Thereafter, followed by coloring the attire of the motifs.
Step 5: Detailing process-
During the detailing process, first thick outlines are drawn, and then fine detailings are done. Thereafter, fine detailing on the ornaments is done. Once the painting is completed, outlines are given to the figure using black color.
Step 6: Finishing touches -
In the last stage, the artist gives finishing touches to the painting, thereby enhancing its beauty.
These are the various steps involved in making a Pattachitra painting.
So, if you are interested in learning this 1200-year-old art form from a national awardee artist, then jointhe Pattachitra "Beginners to Advance" course, provided by Catterfly Art & Culture, where classes are taught by Master artist - Mr. Bhaskar Mohapatra Ji. Once bought, you will get an entire bundle of workshops to work on at your own pace, time, and comfort.
What's included?
- 120+ hours of Online Workshops (Pre-recorded).
- 12 workshops with 97+ modules.
- 4 Levels - Beginner to Advanced Stepwise instructions with pictures and videos.
- Assessment and Feedback by Master Artist.
- Ongoing Support by Catterfly Art Experts.
- Lifelong Access to Videos.
Don't miss this opportunity to learn from the best and unlock your creative potential with Catterfly's Pattachitra art course!
Get connected with us to inquire more…
E-Mail: info@catterfly.art
Phone: +916393897910
Some more information :
Beginner - Basic of Pattachitra,
Radha Krishna,
The Odissi dancer Click on the link to see The Odissi Dancer,
Dancing Ladies On Circular Canvas

Matasya Avatar,
Women on Swing( Raja Doli ),
Dancing Ladies,
Lady Near Pond in Pattachitra


Intermediate - Krishna Baal Leela,
Dancing Indian Woman in Pattachitra,
Panchmukhi Hanuman Click on the link to see Panchmukhi Hanuman

Advance - Lord Jagannath, Balbhadra and Subhadra,
Mahisasur Mardini Click on the link to see Mahisasur Mardini
Aswa Naari in Pattachitra